I can’t begin to tell you how many times we’ve watched the movie, “How the Grinch Stole Christmas”. It’s one of our must watch movies during the holidays. It’s up there with “It’s a Wonderful Life” starring Jimmy Stewart. Did you know that movie was made in 1946? Just a little fun fact.
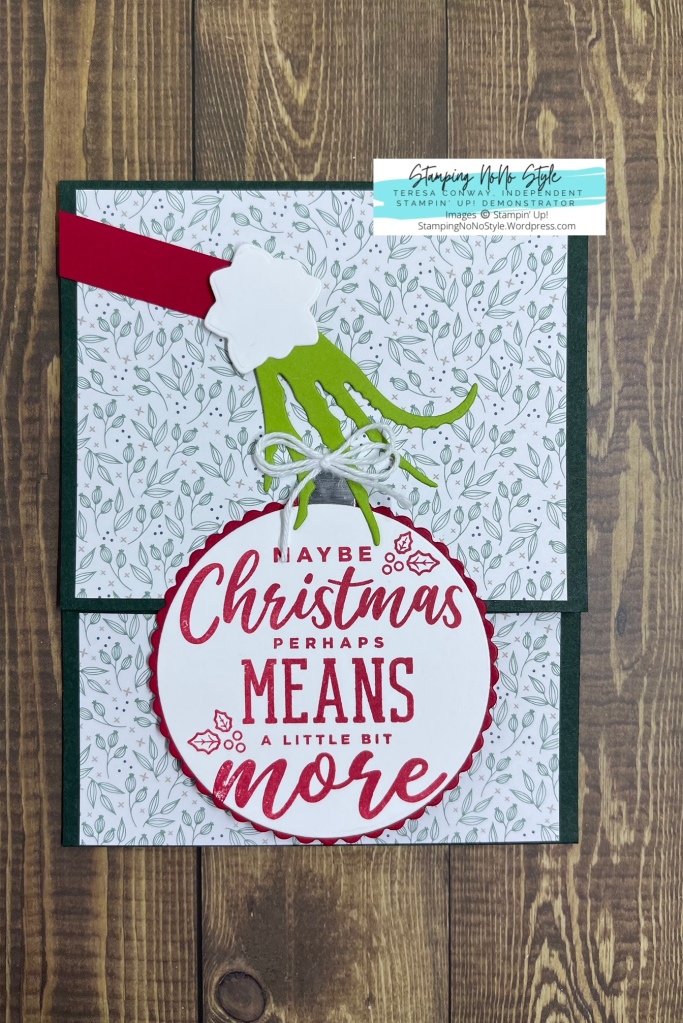
Here’s a gift card holder created in honor of The Grinch. The holder is super easy to create. It took more time for me to pick out which DSP to use.
Products used can be purchased through my Stampin’ Up! on-line store, unless otherwise stated. You can find my website information under SHOP.
Don’t forget to subscribe to my blog by entering your email address located on the right side of my home page. I hope you like this card. Please feel free to leave a comment if you do (located on left side of page).
You can contact me at stampingnonostyle@gmail.com if you have any questions or in need of a catalog. I would love to be your Stampin’ Up! Demonstrator.
Happy Stamping,
Teresa (AKA “NoNo” by my Grandchildren)
Supplies:
- Stamps: Christmas Means More (retired), Tidings & Trimmings #153503
- Dies: Potted Succulents #154330, Layering Circles #151770
- Cardstock: Basic White, Evening Evergreen, Real Red, Granny Apple Green
- DSP: Tidings of Christmas #155718, Silver Foil #156457
- Stampin’ Ink Pad: Real Red
- Cut & Emboss Machine #149653
- Adhesive of choice, Tear and Tape #154031 and Stampin’ Up! Dimensionals #104430
- Baker’s Twine #155475
- Bone folder #102300
Cutting Instructions (measurements in inches):
- Card base: 4 ¼ x 11, score at 2, 7 ½
- DSP, 4 x 3 ¼, 4 x 1 ¾
- Basic White (inside), 4 x 3 ¼
- Real Red, scrap scalloped circle, approximately 3”
- Basic White, scrap for fur, approximately 1 ½ and circle with sentiment, approximately 3”
- Granny Apple Green, scrap for Grinch’s fingers, approximately 2 ½ x 2 ½
- Real Red for the arm, approximately ½ x 1 ½
- Silver Foil, ½ x ½
- Twine, approximately 10 inches, enough to tie a double bow
Instructions:
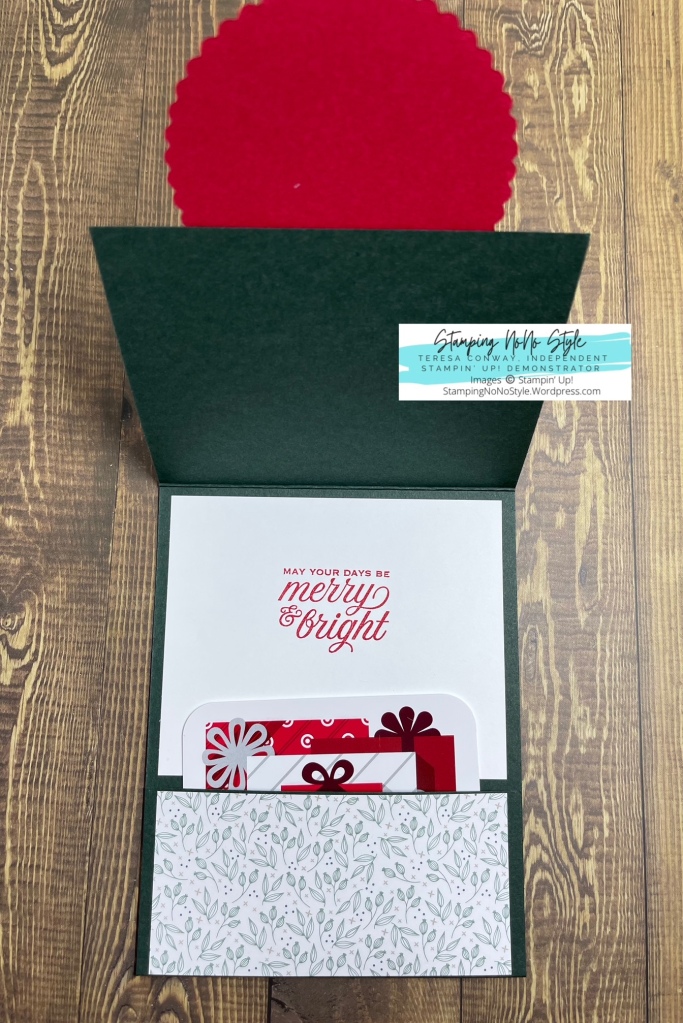
- Tip: I used my bone folder and ran it across the center of the 2” flap first before adding tear and tape to both sides of the edge. Doing this will help prevent such a tight fit when you insert the gift card.
- Stamp your sentiment on the inside Basic White.
- Stamp your outside sentiment on scrap Basic White.
- Using your Cut & Emboss machine die cut the Basic White fur, Granny Apple Green hands, Real Red circle and Basic White circle.
- Now you’re ready to assemble the gift card.
- Tip: When adhering the ornament, only add adhesive to the top portion so it adheres only to the top flap.
